
How to install an RV Thin Shade
Installing an RV Thin Shade

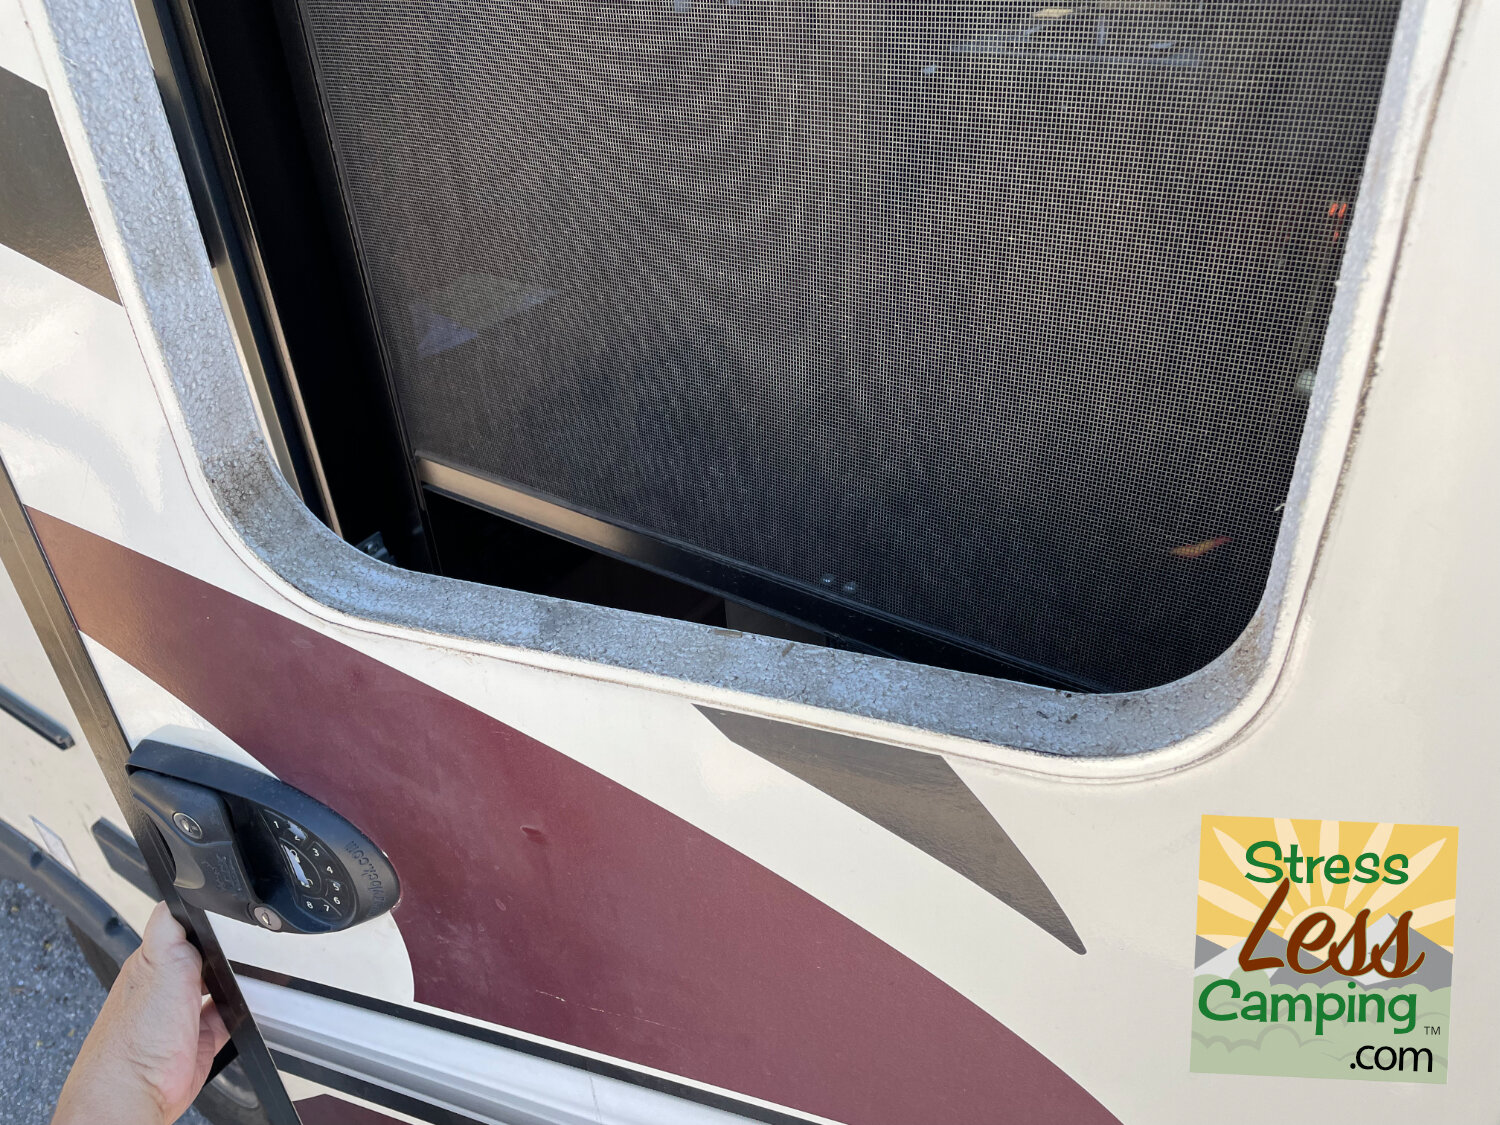
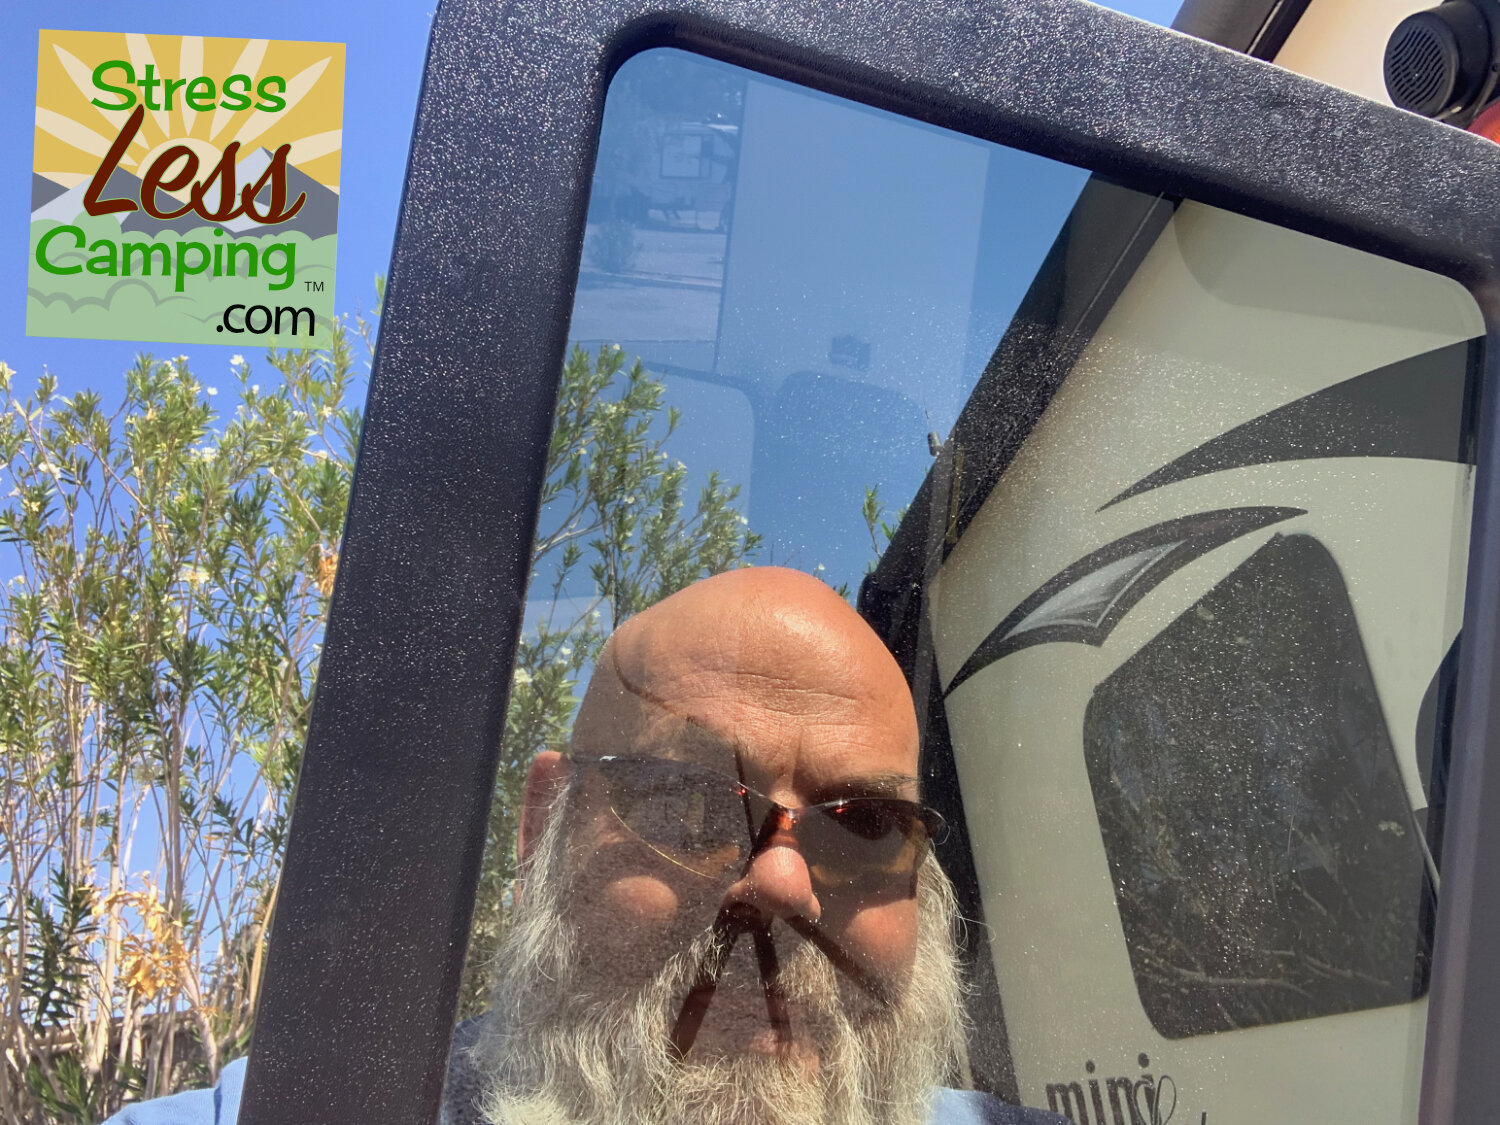
Peggy and I replaced the original window in the door of our RV with an RV Thin Shade. Initially this was just one of those products that we saw that we were intrigued by but recently it became something that got moved up the list as the window on our travel trailer had failed and was starting to inch its way down into the door sort of as if someone had slightly rolled the window down.
What is an RV thin shade?
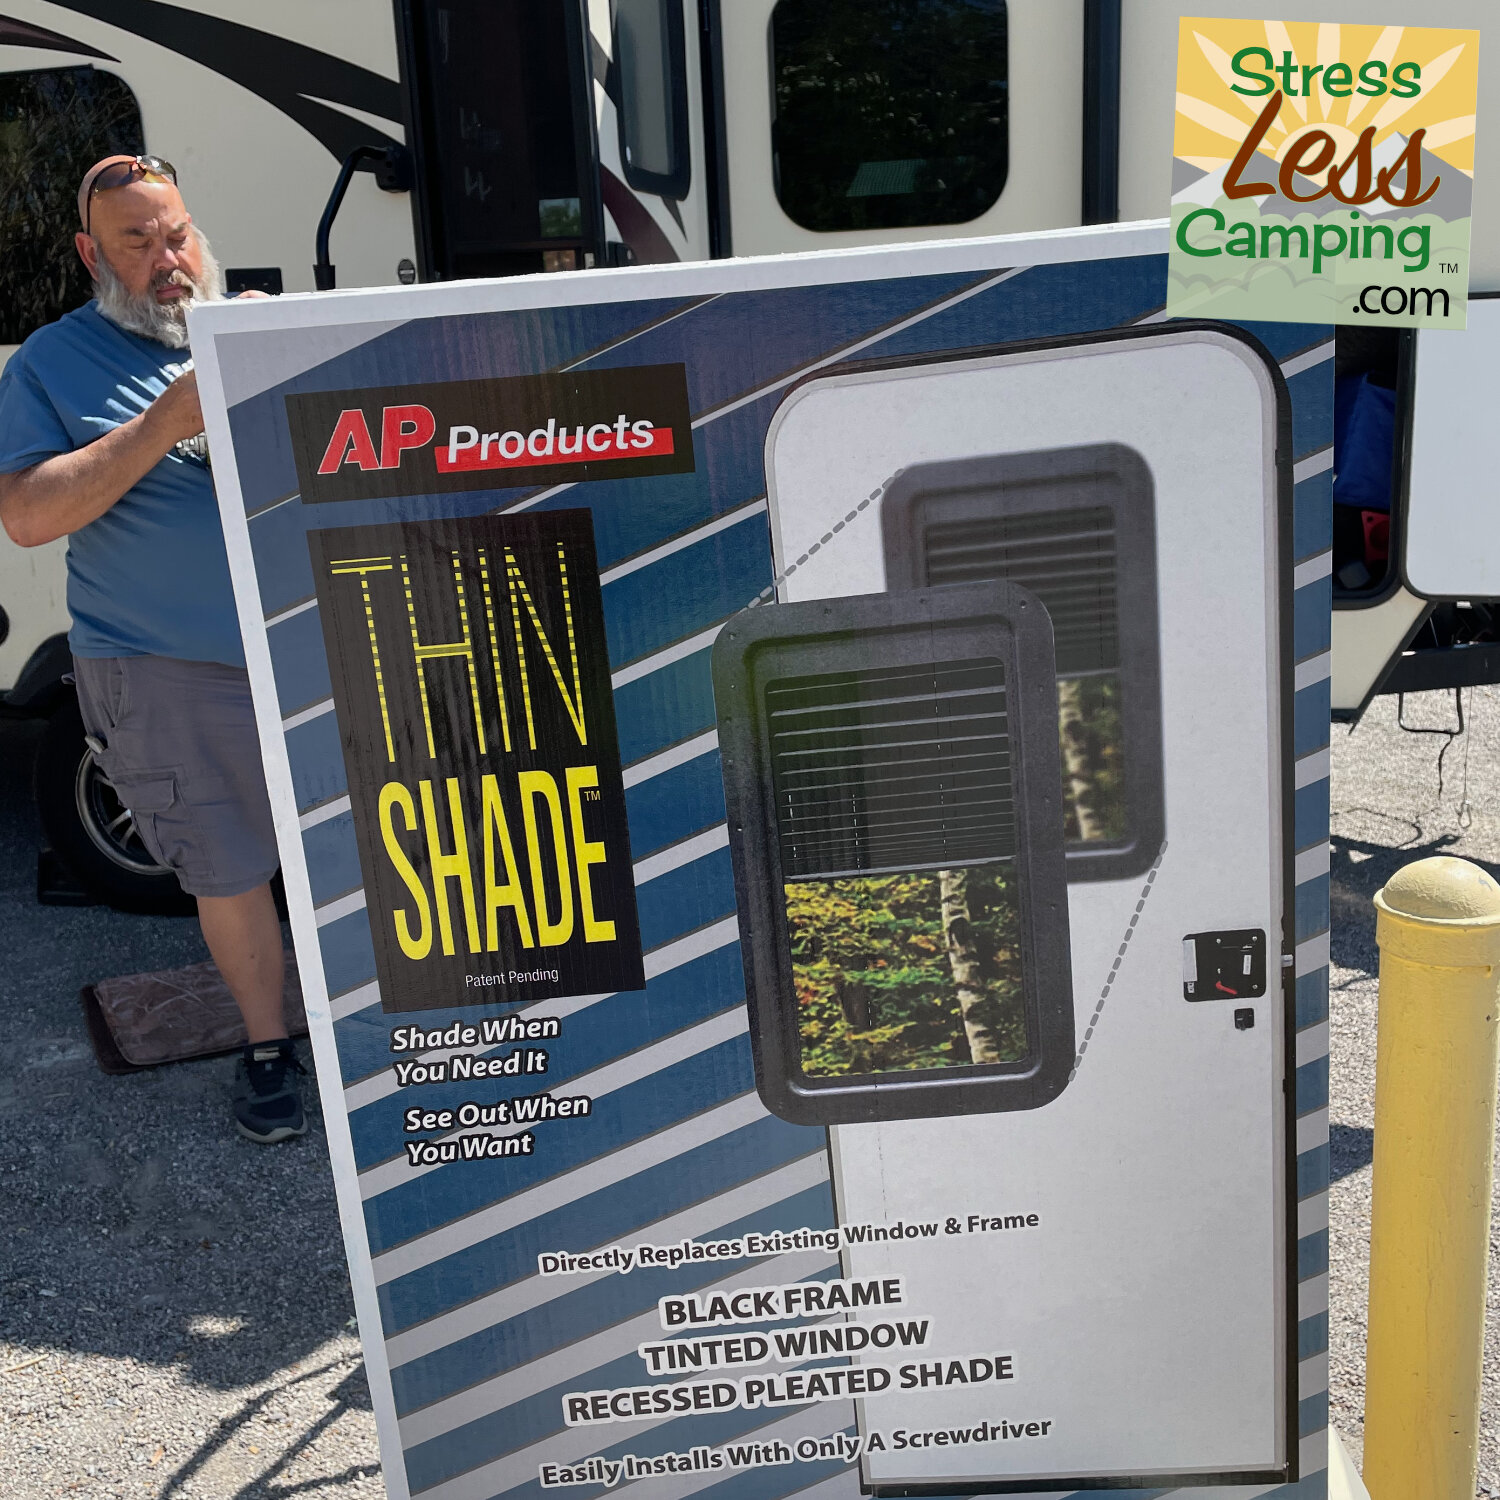
Essentially an RV Thin Shade takes the place of the window in the door of most travel trailers and many other types of RVs. The Thin Shade has the advantage of having a shade as well as just a window so you get the advantage of a window in the door and then a shade as well.
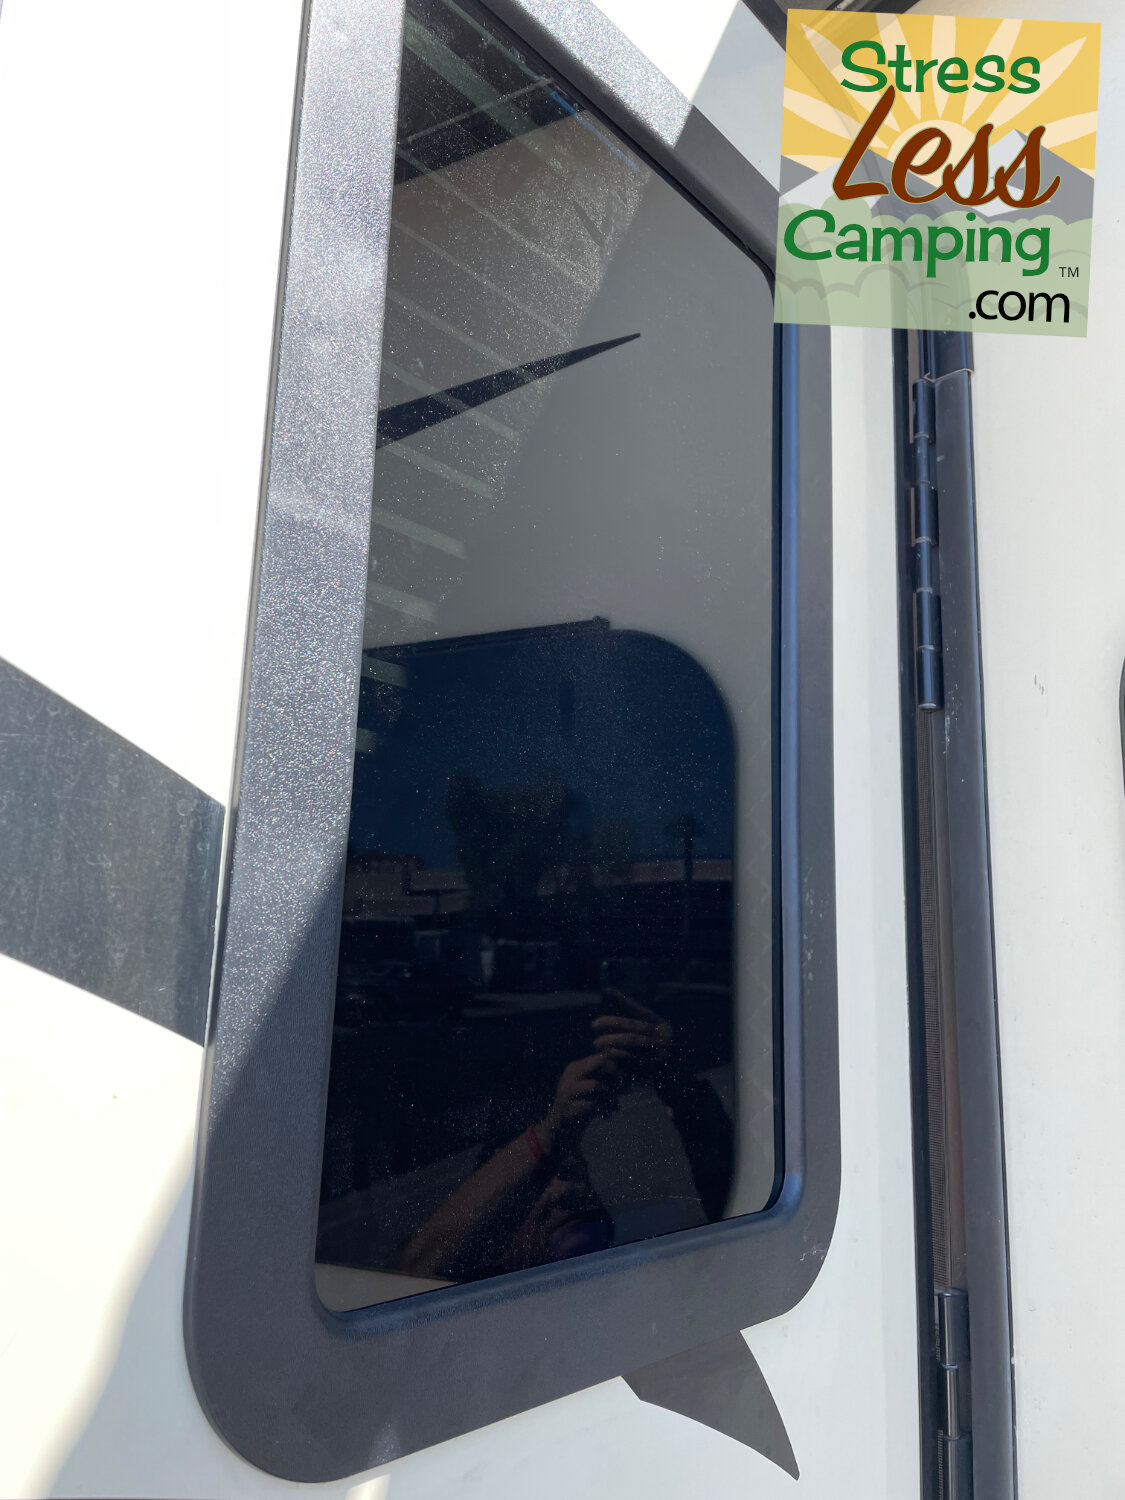
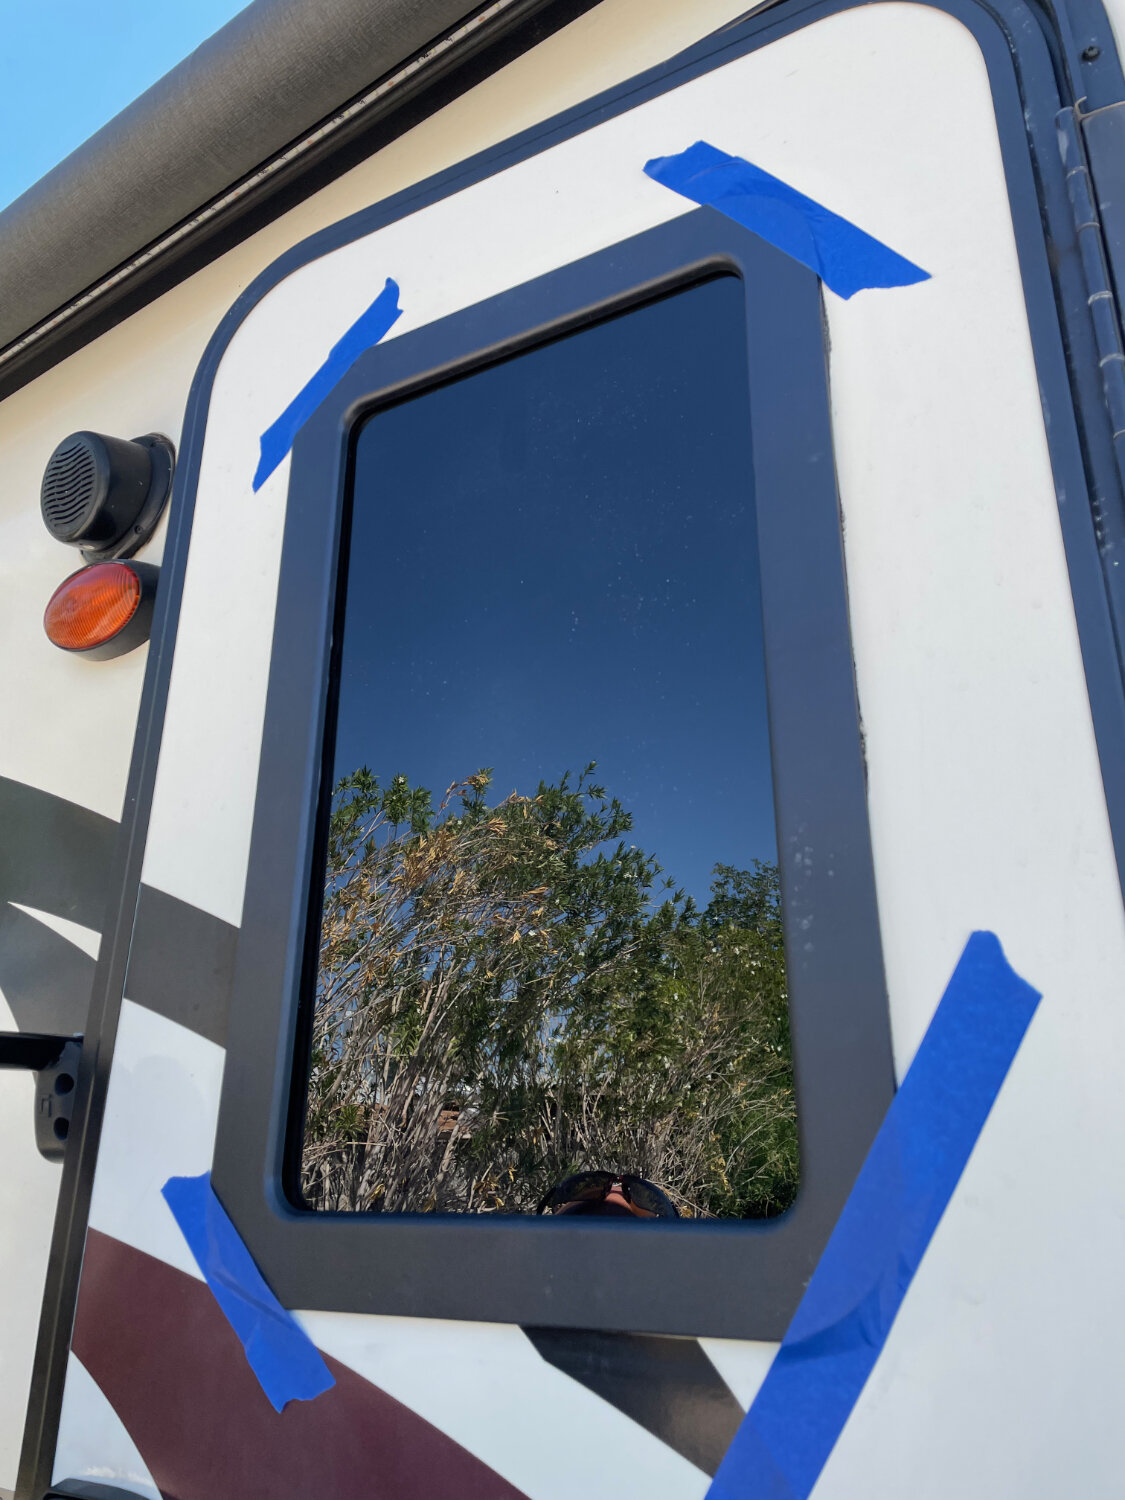
Unlike the original door window in our travel trailer the particular Thin Shade we got incorporated a tinted window that fairly closely matches the tint in the windows in our travel trailer. The glass in the shade we got is not frosted, the original glass was.
What RVs can have a Thin Shade
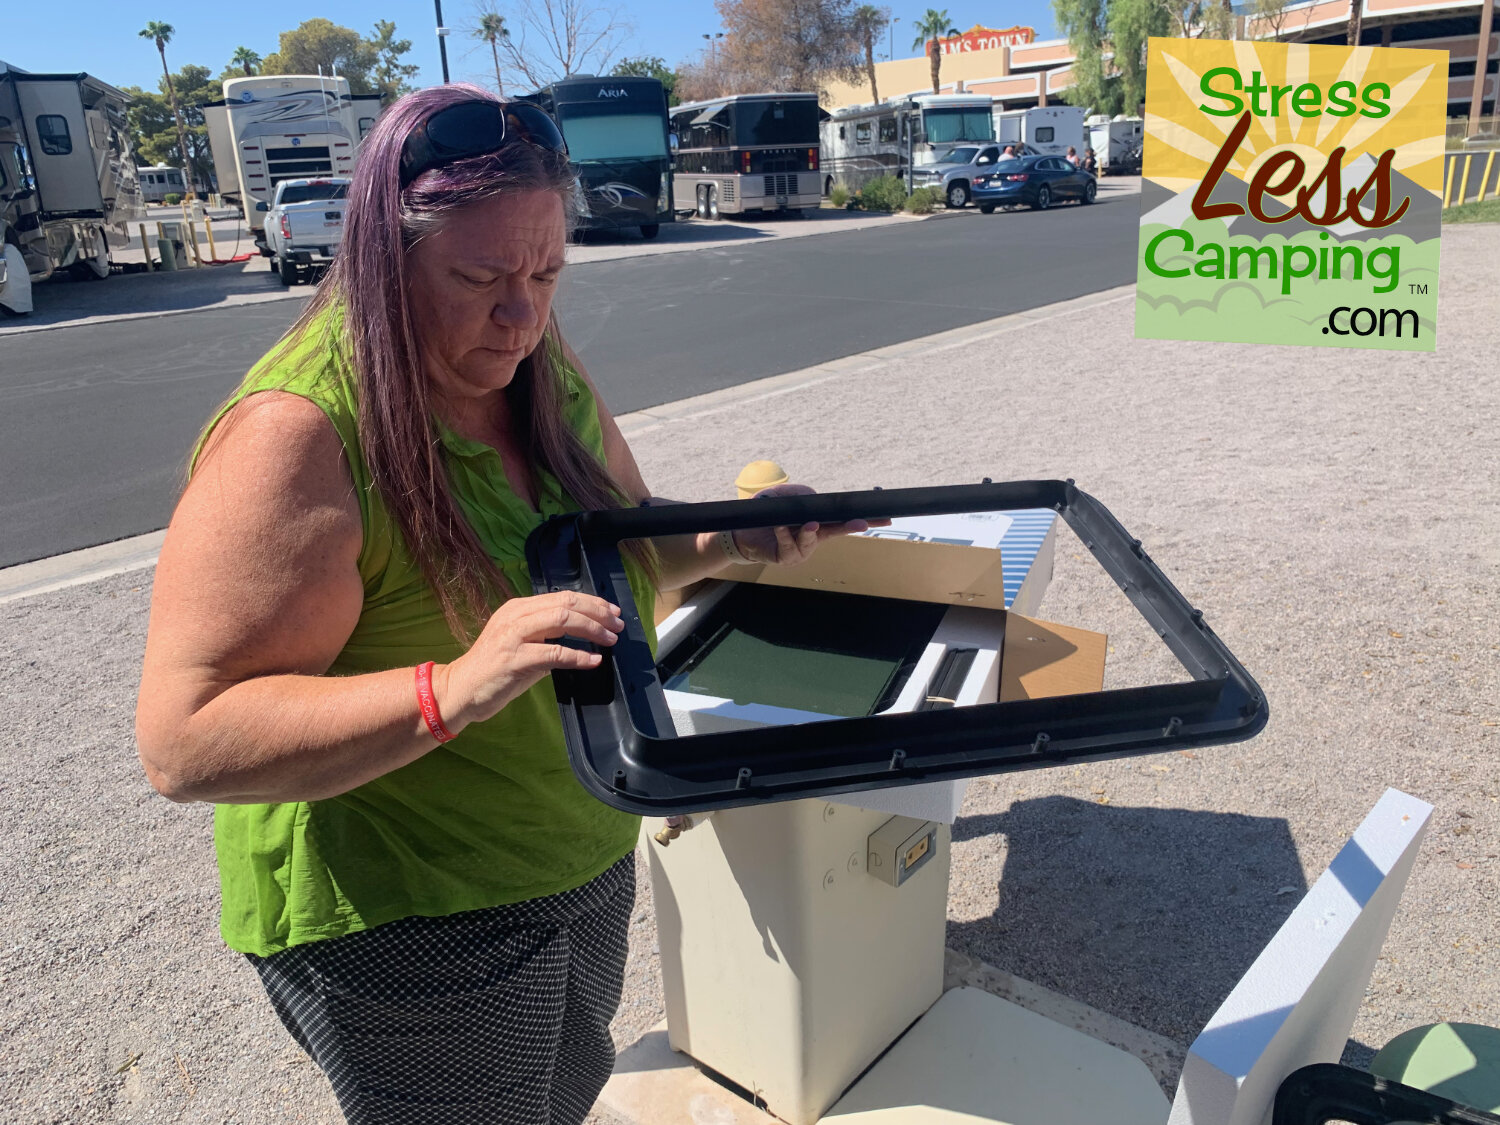
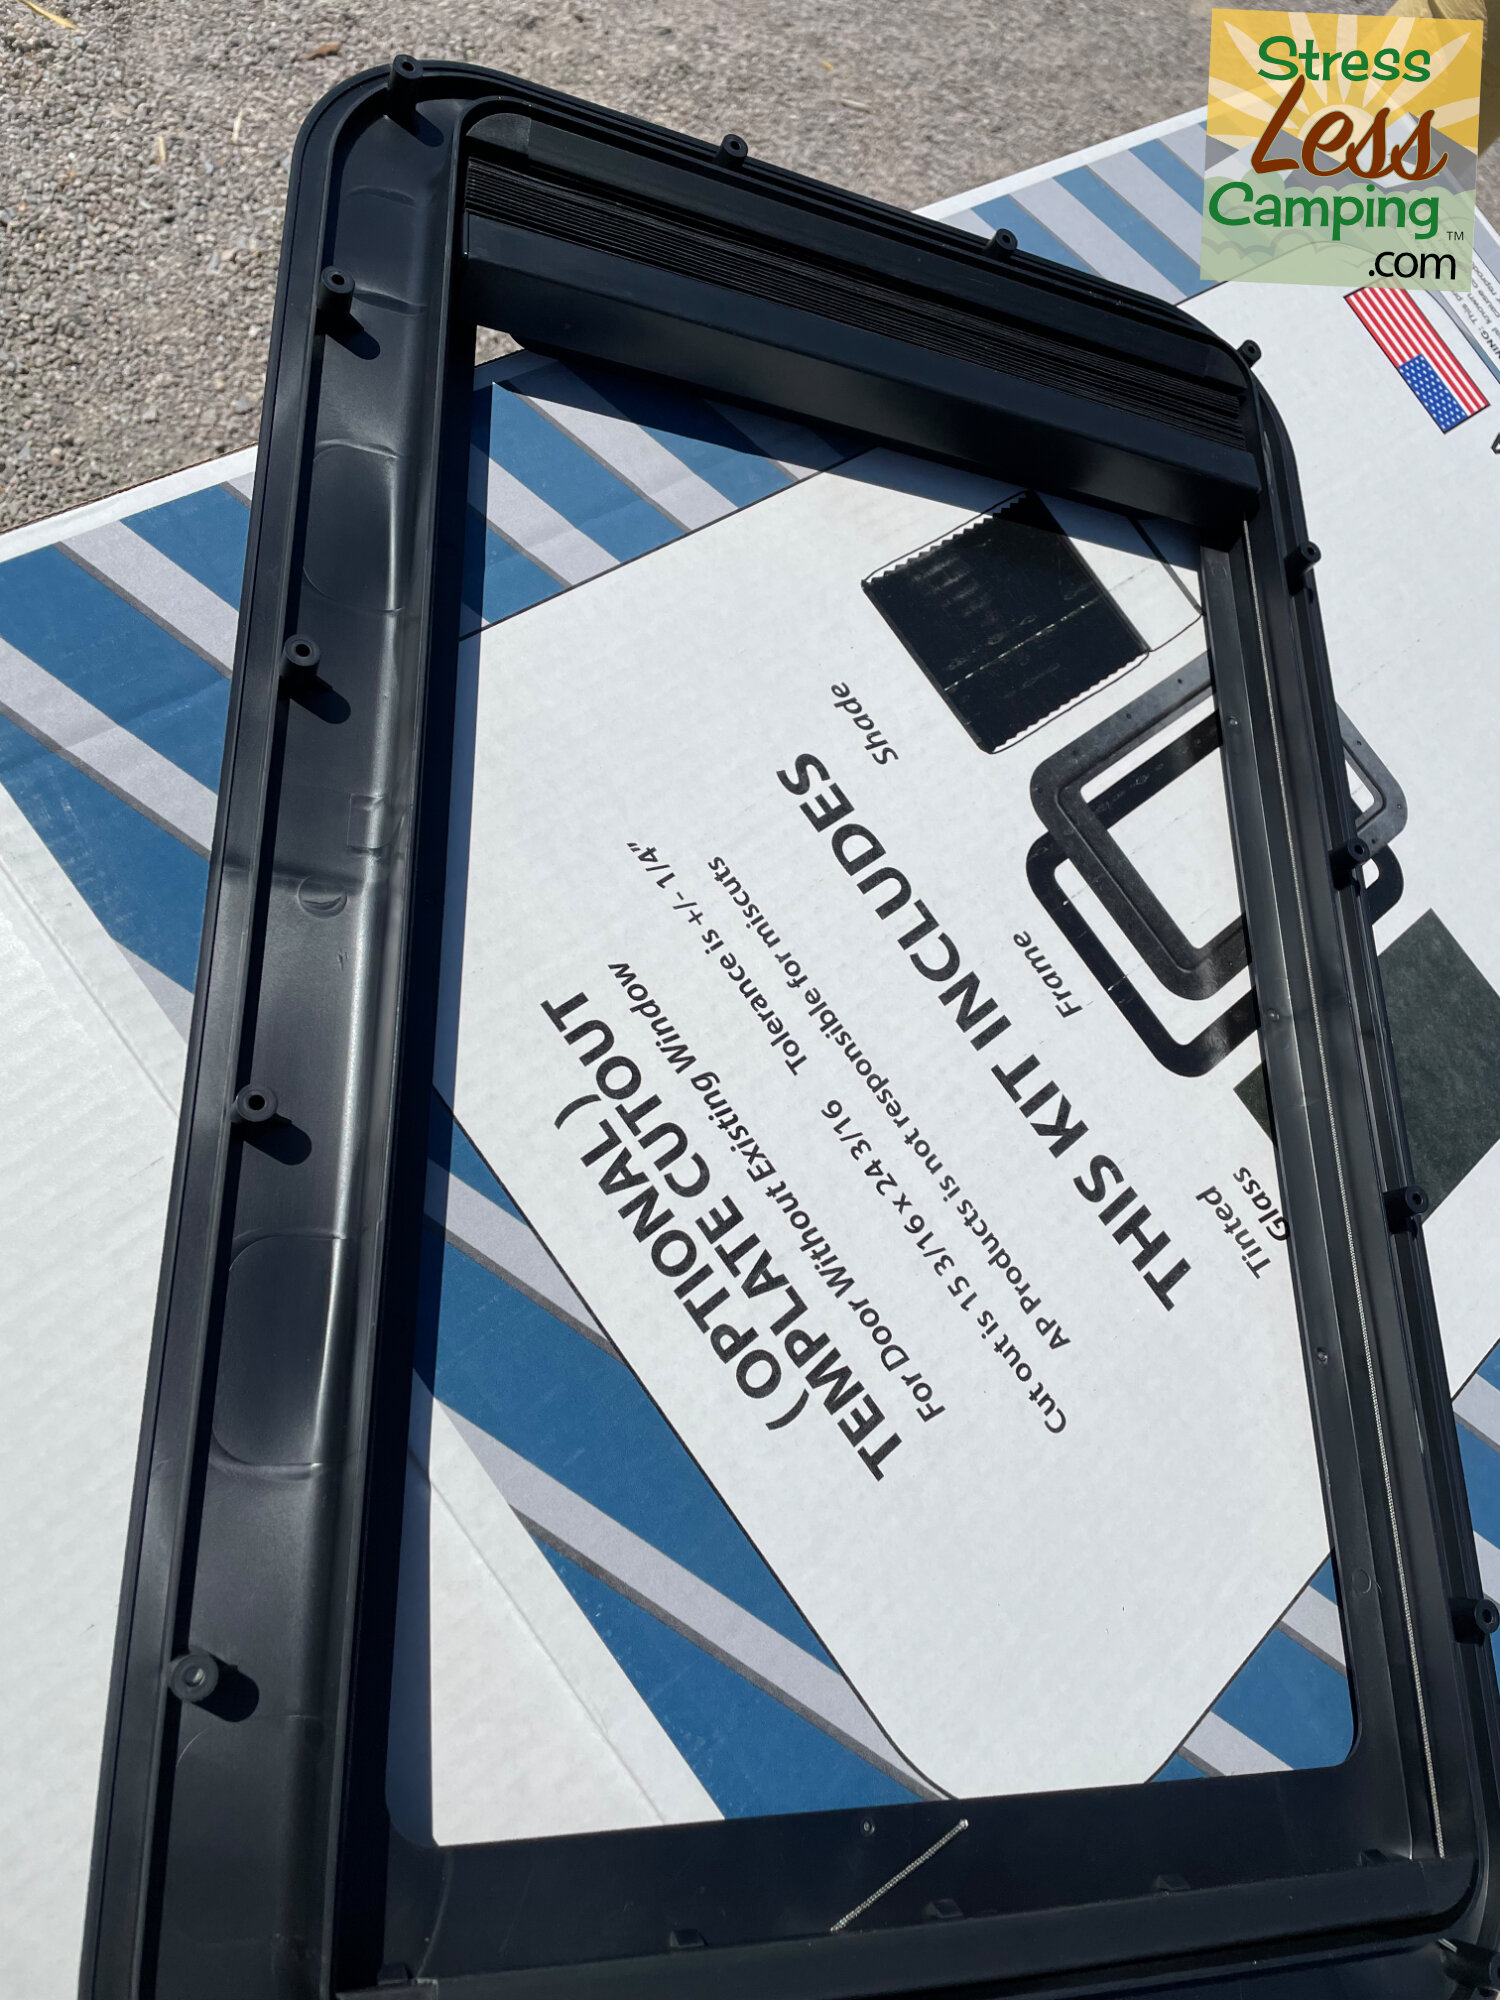
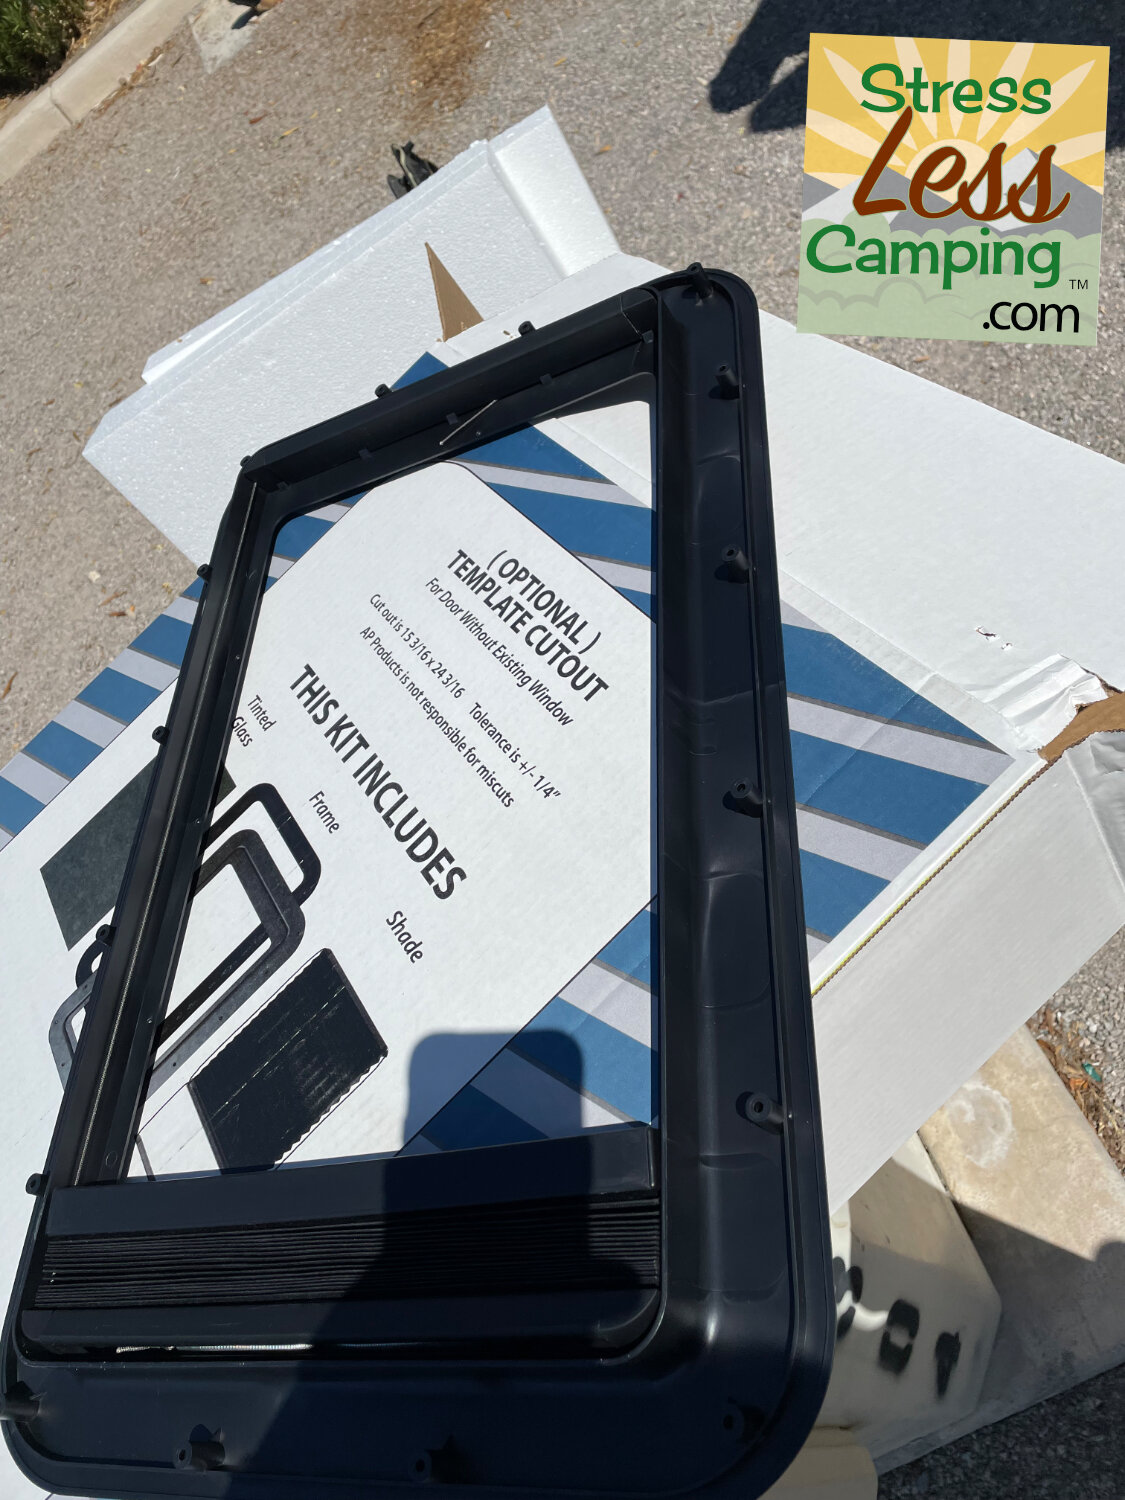
It would seem that the windows in the doors of almost all travel trailers along with most motorhomes have the same size window. The Thin Shade is essentially a simple clam shell type arrangement with a flanged plastic frame that goes on the outside of the door window and one that goes on the inside.
I suspect that you can install this in almost any RV with a window in the door and have the function of a window you can actually see through along with a shade to block light at night.
The actual shade in this resides between the window glass and the inner frame.
Installing a Thin Shade
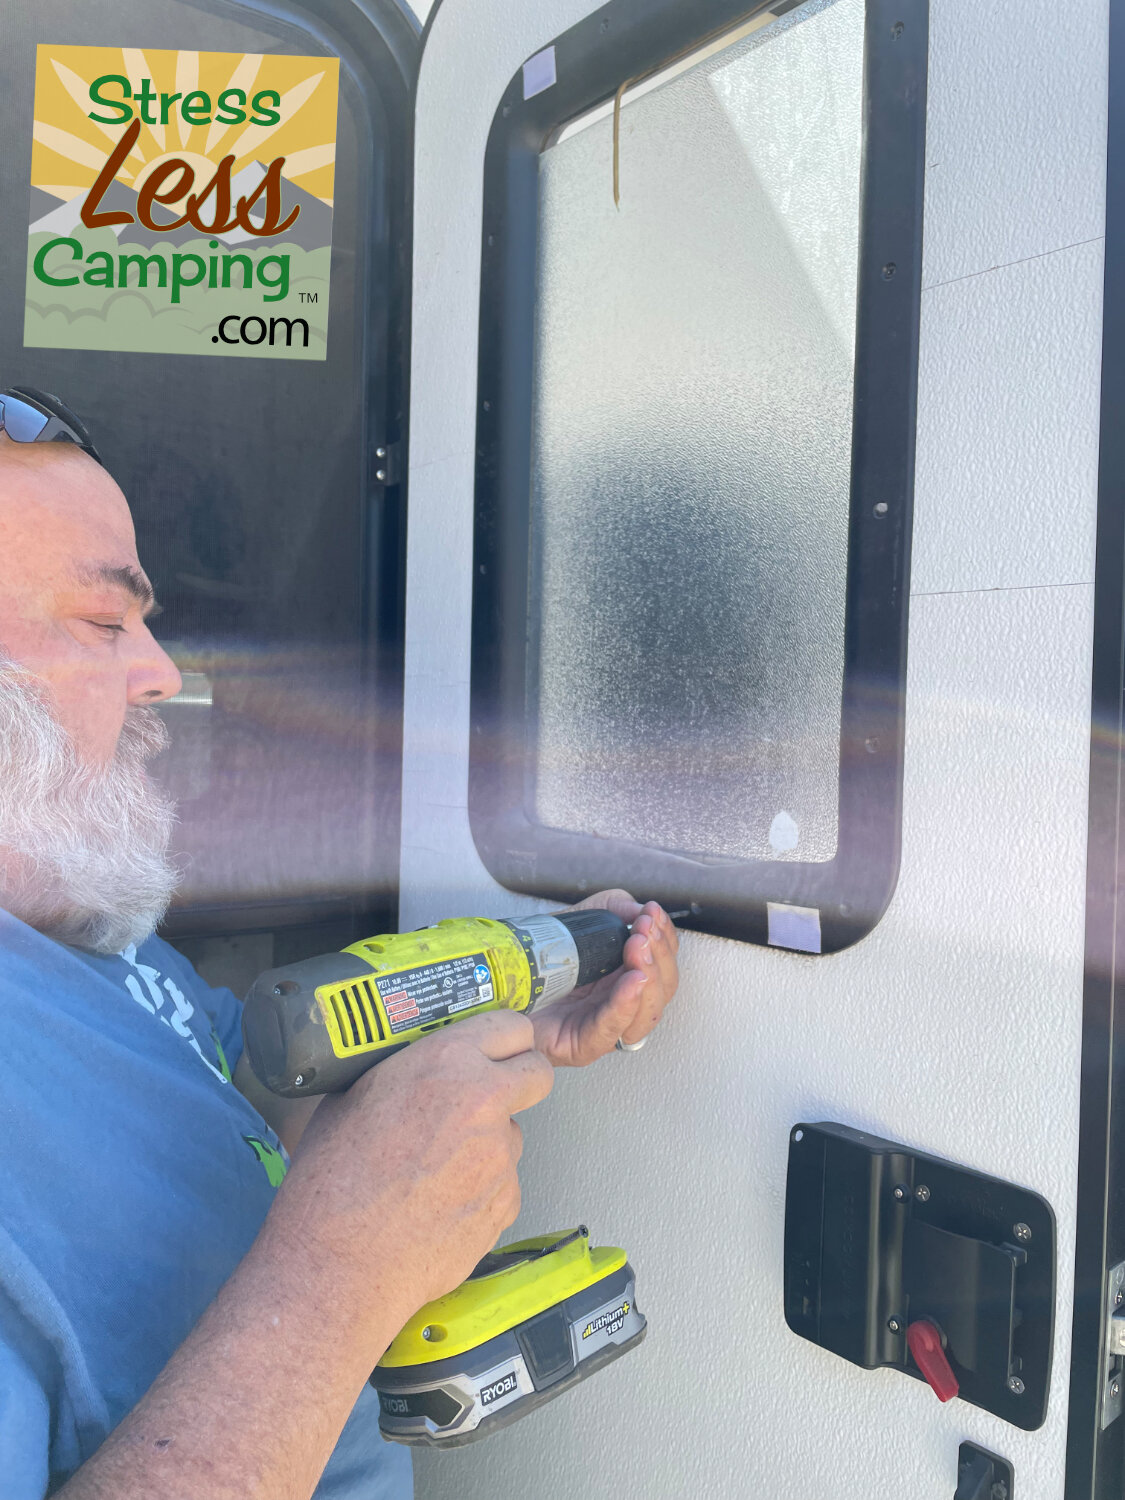
The process of installing the Thin Shade almost couldn’t be easier. We installed ours with a multi tool that had a Phillips head screwdriver bit on it. We also used an electric drill with a Philips head bit on it.
Essentially we used the drill to remove the 16 screws that held in our original window assembly. Once the screws were removed we then pulled the inner plastic frame out and the window came with it. There were plastic tabs on this that were supposed to hold the window in place which had broken over time explaining why the window was dropping in the frame.
The outer frame has some adhesive on it that also forms the weather seal to prevent water from getting into the trailer. We used an alcohol-infused wipe to clean off the outer surface of the door so the new seal could compress and form a weather-tight seal.
The glass in the replacement window was attached to the outer frame via a bead of sealant along the outer perimeter of the frame. Ultimately the entire assembly was held together with 16 screws that came with the new window but, until the whole thing is completely installed, it’s pretty flimsy.
In fact if you ever want to lessen the feeling of security in an RV look at how the door is made. It’s essentially a 1” thick layer of styrofoam and then an inner and outer layer of thin fiberglass surrounded by a light-weight metal edge. I think a small child could kick the door in.
Installation tips and tricks
The whole process is relatively easy but there are a few tips we learned in installing ours.
Make sure the right side is up
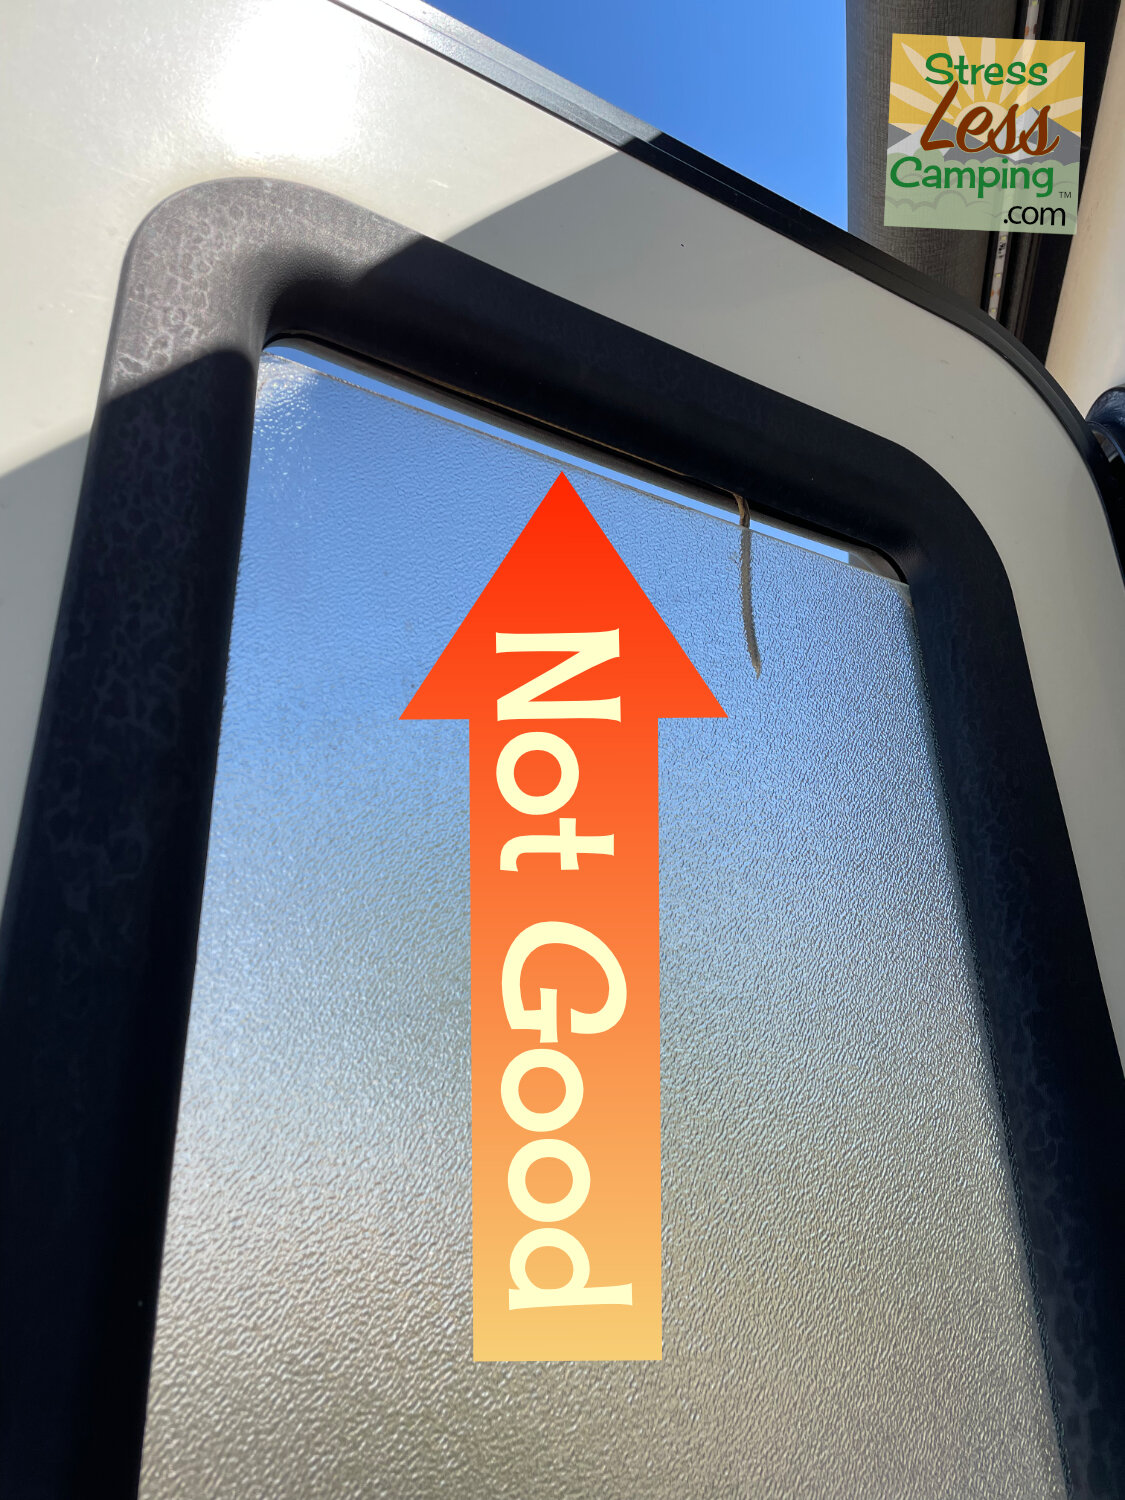
There is a definite top and bottom to the Thin Shade. On the outside it’s evident in that the writing on the glass that’s glued to the frame is right side up. On the inside there are weep holes to allow condensation to drip if any builds up on the window. These condensation weep holes should be at the bottom.
It appears that the shade itself can be installed where the shade, when open, gathers at the bottom or gathers at the top. We chose to install it where it gathers at the bottom so we can open the shade slightly without letting others see into the RV.
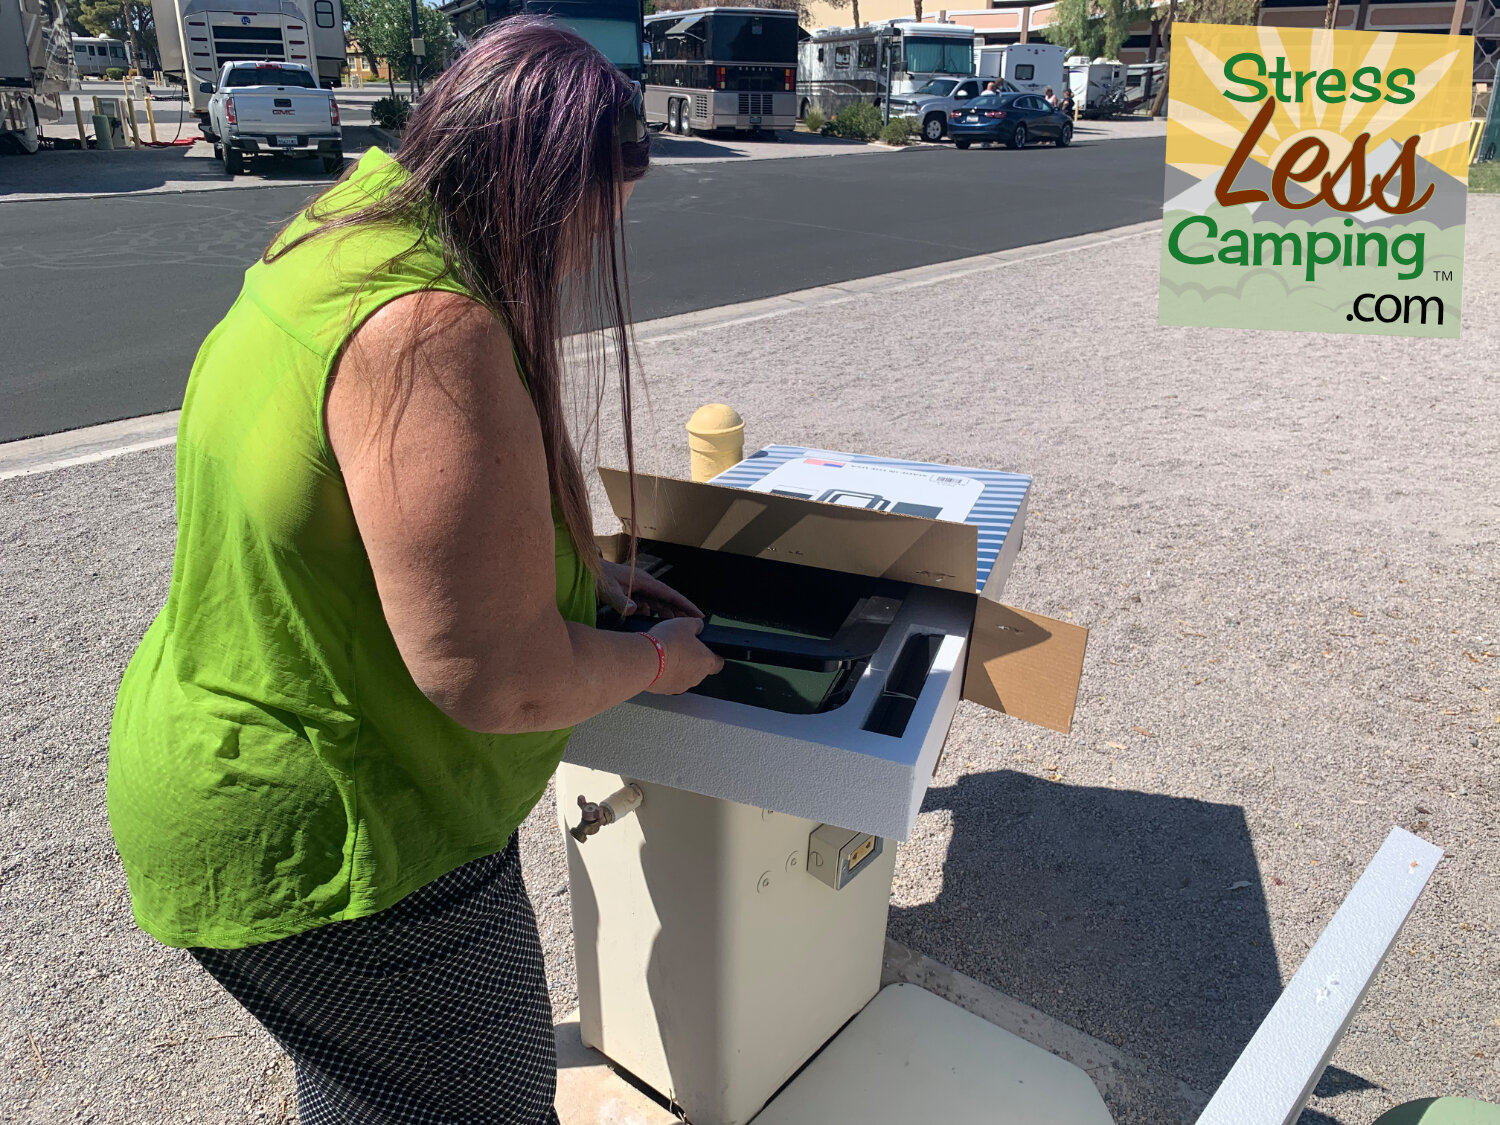
Have painter’s tape
Painter’s tape was our best friend in this installation process. The shade inside the frame is held in solidly once the window is fully assembled but has a tendency to pop out before the whole job is done. Painter’s tape held the shade in place while the entire operation was being installed.
We also used the painter’s tape to hold the window in place on the outside as we fitted the interior frame to the assembly.
Two is better than one
This is absolutely a two person operation with one on the outside on a ladder holding the window frame and glass in place while another person inside fits the frame, shade and screws into place. You’ll have a much lower likelihood of the window just falling on the ground with someone outside holding it in place.

Center the window
This may seem obvious and probably is but we had issues with the inner frame not fitting properly in the screw holes until we were more careful about centering the outside frame in the opening in the door.
Once the frame was properly centered it was really easy to screw the 16 screws that hold the thing together in place.
Screw up
All joking aside, it was easier to start with the screws along the bottom rather than along the top. Once the four screws along the bottom were in place but not fully seated it was far easier to slightly adjust the positioning of the partially-finished assembly so that the remaining screws could be put into place.
What I did was just partially screw in the four screws at the bottom with the multi tool and then, once they were in place and the window was carefully centered, Peggy held the outside frame in as I used the multi tool to seat the rest of the 16 screws.
Super bonus to the company who made this in the USA for including 20 screws. Of course I dropped a couple during the installation and the extras just were nice to have.
Once all your screws are in but not fully seated you can start at one corner of the window and tighten up the screws. Jump to the opposite corner, then the top, then the corner opposite of that.
Fully seat your screws at this point which compresses the gasket material in the outer frame to the exterior of the door.
In summary
This is a really nice addition to the trailer as it makes it so more light can come in during the day, we can actually see out the door window but we also can block the light at night with the shade. For a few minutes’ time and a screwdriver project, this was pretty satisfying and well worth the time and money.
One thing I do plan to do down the road is run an additional layer of sealant around the outside edge of the window to further ensure that the window is fully water tight. I’ll do this when I return and fire up the ol’ caulk gun and take care of all the exterior seals on my travel trailer, which is part of routine maintenance.
I recommend the Thin Shade. There are also RVs now that come “Thin Shade ready” which means you can just drop the Thin Shade in place. I know Lippert actually makes the product called the Thin Shade whereas a company called AP Products makes the Slim Shade, which is the actual product we bought.
I couldn’t tell you if there is any difference in the quality between the two although I can say that the Thin Shade is likely what your RV is prepped to have installed if you have a newer rig. It would also be less expensive to get just this component rather than an entire window and frame. But I wish RV makers would just put the shade in already instead of making and RV “Thin Shade ready.”
No matter what, the process of installing this is worth the time and I feel this is definitely worth the money.


